
This blog started with a Kennedy quote about doing things not because they were easy but because they are hard so I can't say to myself I didn't say so earlier.
Although that feeling when you've solved a problem is great and one of the 'treasures' of the human experience.
Let's start with some good news!
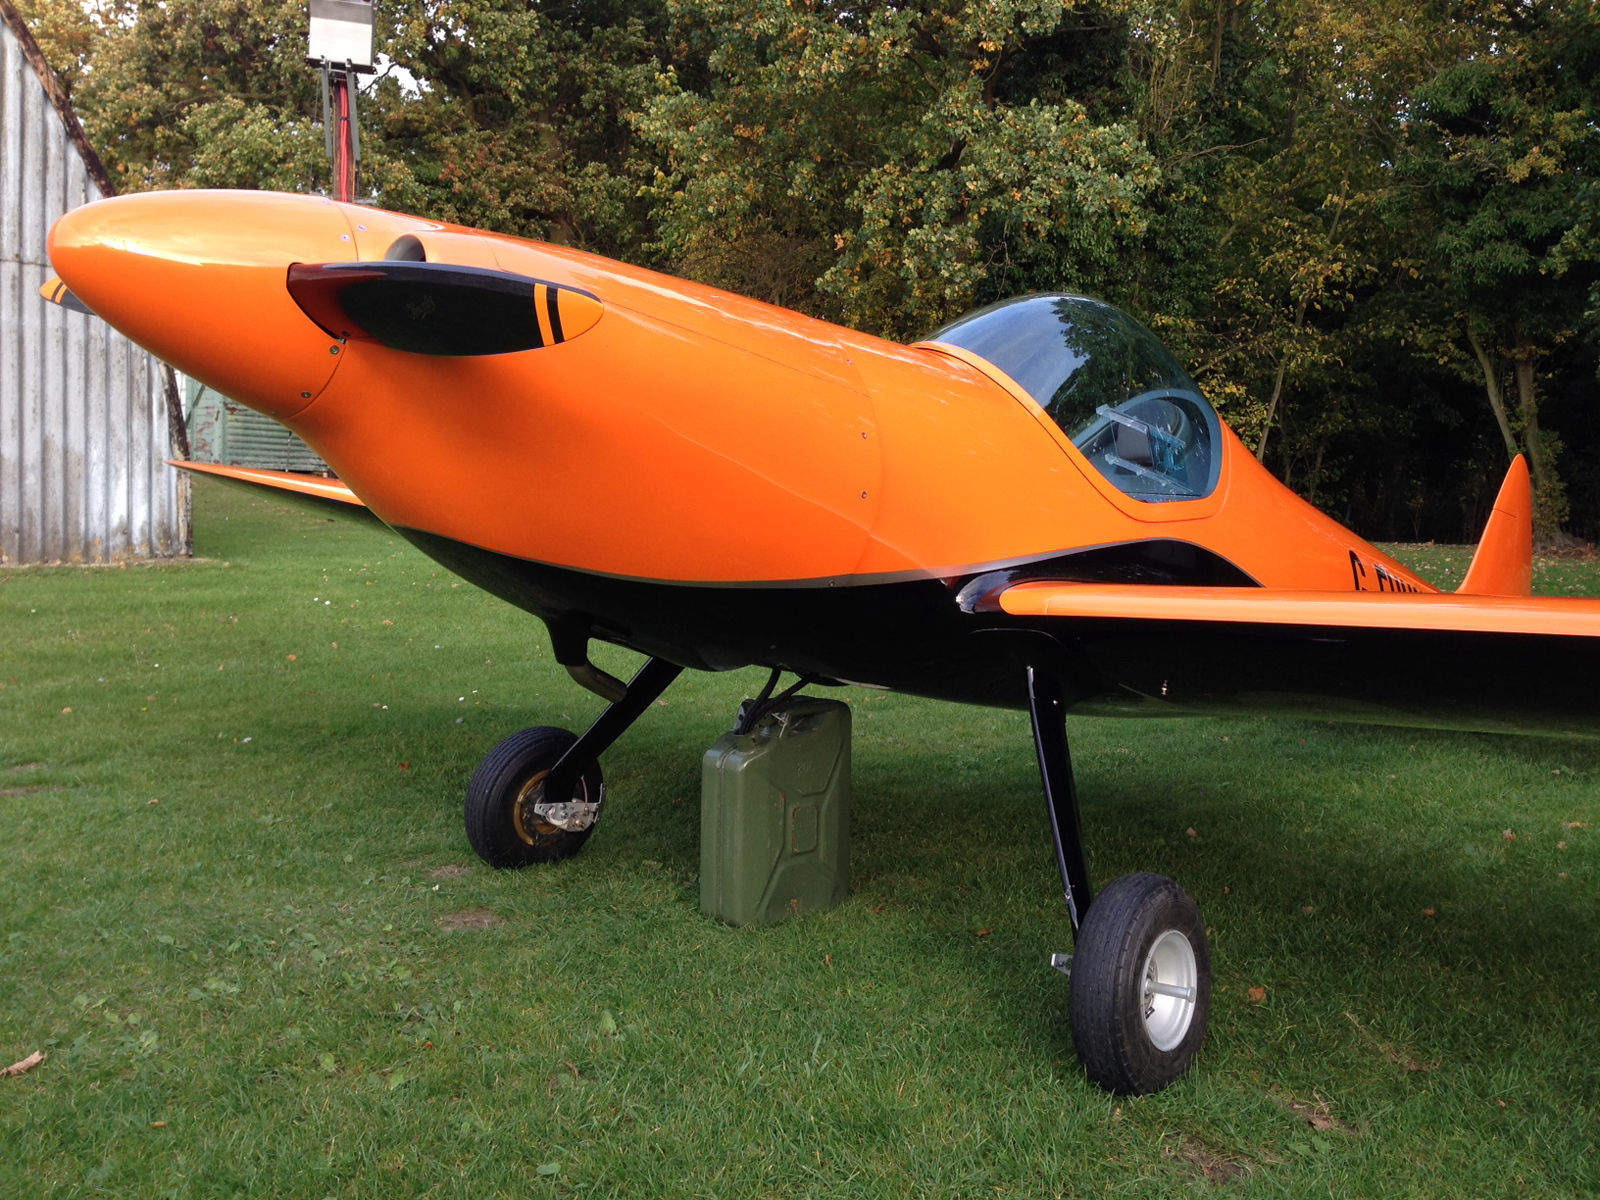
The fuel leak from the Starboard tank has been fixed - yay!
It was indeed coming from the drain/vent area. My fix was pretty simple, just fill that area up with 'neat' resin. 'Filling the bath' so to speak.
I put some fillet wax (yellow stuff) over the top of the drain so it didn't jam up with resin - this worked a treat.
Then I just used our tried and trusted method of a little syringe to squirt the resin into the offending area.
Onto the engine rough running problem...
By a slow process of elimination I am getting closer to the solution.
I've been in direct contact with the UL Factory - specifically Patrick Denorme - who is the technical guru there. He has been helpful to bounce ideas off and generally steer me in the right direction to find the problem.
The 'some sort of flow restriction' comment he made to me all those weeks ago at the Sywell Rally has proven to be correct! (so far).
I suspected the brass end of the Vans flop tube could be the culprit as it has a smallish hole in the end - although it does have several other holes around the side - see pic below.
So the first test I did was to remove the brass end and weigh down the end of the hose with a big socket - held on with some safety wire.
No change whatsoever. Same symptoms as before and same high fuel pressure - 53.4 psi all the time.
OK...
I suspected it may be my 'feed' fuel lines that were the culprit - being that they are only -6 size which is internal diameter of 9.35mm. The UL Power installation manual is a bit contradictory as in one part it says the opening from the fuel tank must be a minimum of 8mm and then in another part it says that you should use 12mm internal diameter hoses for the feed part of the fuel lines.
So what is it? 8mm or 12mm? If that doesn't sound like a big difference then imagine the flow rate through a 8mm hose which has a surface area of 50mm squared compared to a 12mm hose which has a surface area of 113mm squared, so more than double.
As I have -6 hose then the surface area is 68mm squared.
However Patrick has said the hoses are fine at -6.
Just to be sure yesterday I took off the -6 hoses and ran a -8 hose (internal diameter of 11.2mm) all the way to the pre-filters from a Jerry Can.
Another engine run and guess what?
It ran sweet again, with identical fuel pressures to the -6 hose from Jerry can test.
OK - so we know that the -6 hoses are okay from the pre-filters to the wing root quick disconnects and we know the quick disconnects are OK too as that's what I used to test from a Jerry Can.
Once again I must point out that the UL Power manual is a little wrong in that it states that 'normal' fuel pressure is 43.5psi but this is only at warm up type revs - say 1200 to 1500 rpm. Once you run up to max static the fuel pressure goes up to approx 49-50 psi. Patrick has said this is perfectly correct to have these higher pressures at max static power settings. The manual needs to be clearer here I think.
Going back to my old tests I was able to confirm that when running from a Jerry Can from the wing root connectors and using -6 hoses the fuel pressures were IDENTICAL at all rpms to the test with -8 hoses. This confirms that the feed hose size is not the issue.
This is quite a weight off my mind as I did think I may have to replace all my feed lines with -8 hose. This would mean replacing the Andair fuel selector, quick disconnects, flop tubes and all the fittings = EXPENSIVE and PAININTHEASS.
So the problem definitely lies in the area from after the quick disconnects to the start of the flop tube.
As you may remember there is a tortuous path that the fuel must take through many 90 degree corners in my set up - see pic below. So tomorrow I will remove the complex fittings and lines inside the tank and just attach a piece of hose and test run again. BTW this is Pete Wells set up, -6 hoses and a simple piece of hose laid into the tank as a flop tube.
It's no good saying fingers crossed this will work as I just have to keep working through all the permutations until the problem is solved.
After the -8 hose run I did another run with the top cowling removed - Johan in Belgium has been asking me to do this for weeks - and I'm glad I did as two interesting developments presented themselves.
1. I got a higher static RPM. Max static was now 2,600 rpm. I also noted a higher idle too, that was approx 100 rpm higher than with the cowling top in place.
Patrick puts this down to the engine receiving cold fresh air through the air filter, although this brings me nicely onto point 2.
2. I noticed in the latest installation manual edition - only published about 1 month ago - that there is now a section on the ECU that describes a small brass fitting on it which should be connected by a hose to an area that is close to the inlet/air filter. This hose gives the ECU atmospheric data so it can give the engine the best mixture. This information was not in the old manual (published in 2013) which I used when installing the engine last year. Unhelpful or what!
Once again I find the Installation manual contradictory here as in another section it states "The injection system is pressure and temperature compensated...". OK so why does it need that hose to the ECU??
Patrick does not give me a straight answer to this but says:
Inside the ECU there is a pressure sensor to measure atmospheric pressure. Starting from this pressure, ECU change the mixture . So this is an altitude compensation. However, it is necessary to measure the airpressure close to the inlet air filter. If the ECU is close to the engine and the pressure on this brass connector is the same as near the inlet filter, there is no need to install a hose. However, if ECU is inside the cockpit, or if you use an inlet airbox, it is necessary to install a hose from the nipple to the inlet air filter.
As you have a 100 rpm difference, it means that maybe you create an underpressure under the cowling ( because engine suck a lot of air ). So I propose to install an “inlet airbox” Kit K060001 ( or K060002). This an alu box with the airfilter integrated) to be fixed on the left or right side cowling.
From the box , an 50 mm hose go to the throttle body. Make hole in the cowling and install a naca to bring air inside. In this case, you have to install a hose from brass nipple ECU to the inlet air filter inside the box.
Cut up my brand new shiny cowling!!!!!!! Ehh not just yet I won't. I will try installing the hose from the ECU brass fitting to be close by to the air filter first and see if that gives an improvement.
Ultimately of course he is right that cold fresh air will give more power - in this case it is approx 4hp more - but this is new information from UL Power. They already have hundreds of engines running without a NACA inlet and airbox. And the old installation manual makes no mention of this.
I have also heard that this is a 'quick fix' for too high CHT temps as the colder inlet air cools the cylinders from 'the inside out' as it were.
Maybe this is something I will do later on as a mod but I can report that Pete Wells has already done this and didn't notice any change in the power output from it. (See my post from June 17th for pics of Pete's set up).
Another thing I found in the new manual is the recommended size of the oil cooler has changed. It used to be 13 rows and it's now 16 rows. I'm very lucky that I opted to err on the side of caution and go for 16 rows - I made this decision many years ago now and I'm glad I did.
As soon as I get to the bottom of this flow restriction there will be a very cold beer with my name on it.
 |
| Fuel pressure from wing tanks - too high at 53.4psi |
 |
| Ditto - it is even too high before engine start as shown here. |
 |
| Warmup from Jerry can with -8 hoses. Note fuel pressure. |
 |
| Max Static rpm from Jerry can with -8 hoses. |
 |
| Higher idle with Top Cowling removed. |
 |
| Higher static rpm with Top Cowling removed. Another 100 rpm and approx 4hp. |
 |
| My fuel lines from the wing root to flop tube - somewhere in here there is a problem. |
 |
| New info about the brass connector on the ECU. Would have been nice to know this a year ago! Also the "silent blocs" (rubber mounts to you and me) are a new addition - I did this already in my installation. This also allows a bit of air to flow around the case which is no bad thing. |
 |
| -8 hose in place for engine test bypassing all the -6 feed lines. No change! |
 |
| Engine test with the top cowl removed. 100rpm and approx 4hp more achieved. |
 |
| Fuel drain area prior to neat resin filing up this 'bath'. Leak is now fixed. |
No comments:
Post a Comment