Friday 26 August 2016

Road trip

As predicted today was a long one, and yes I'm having a beer now.

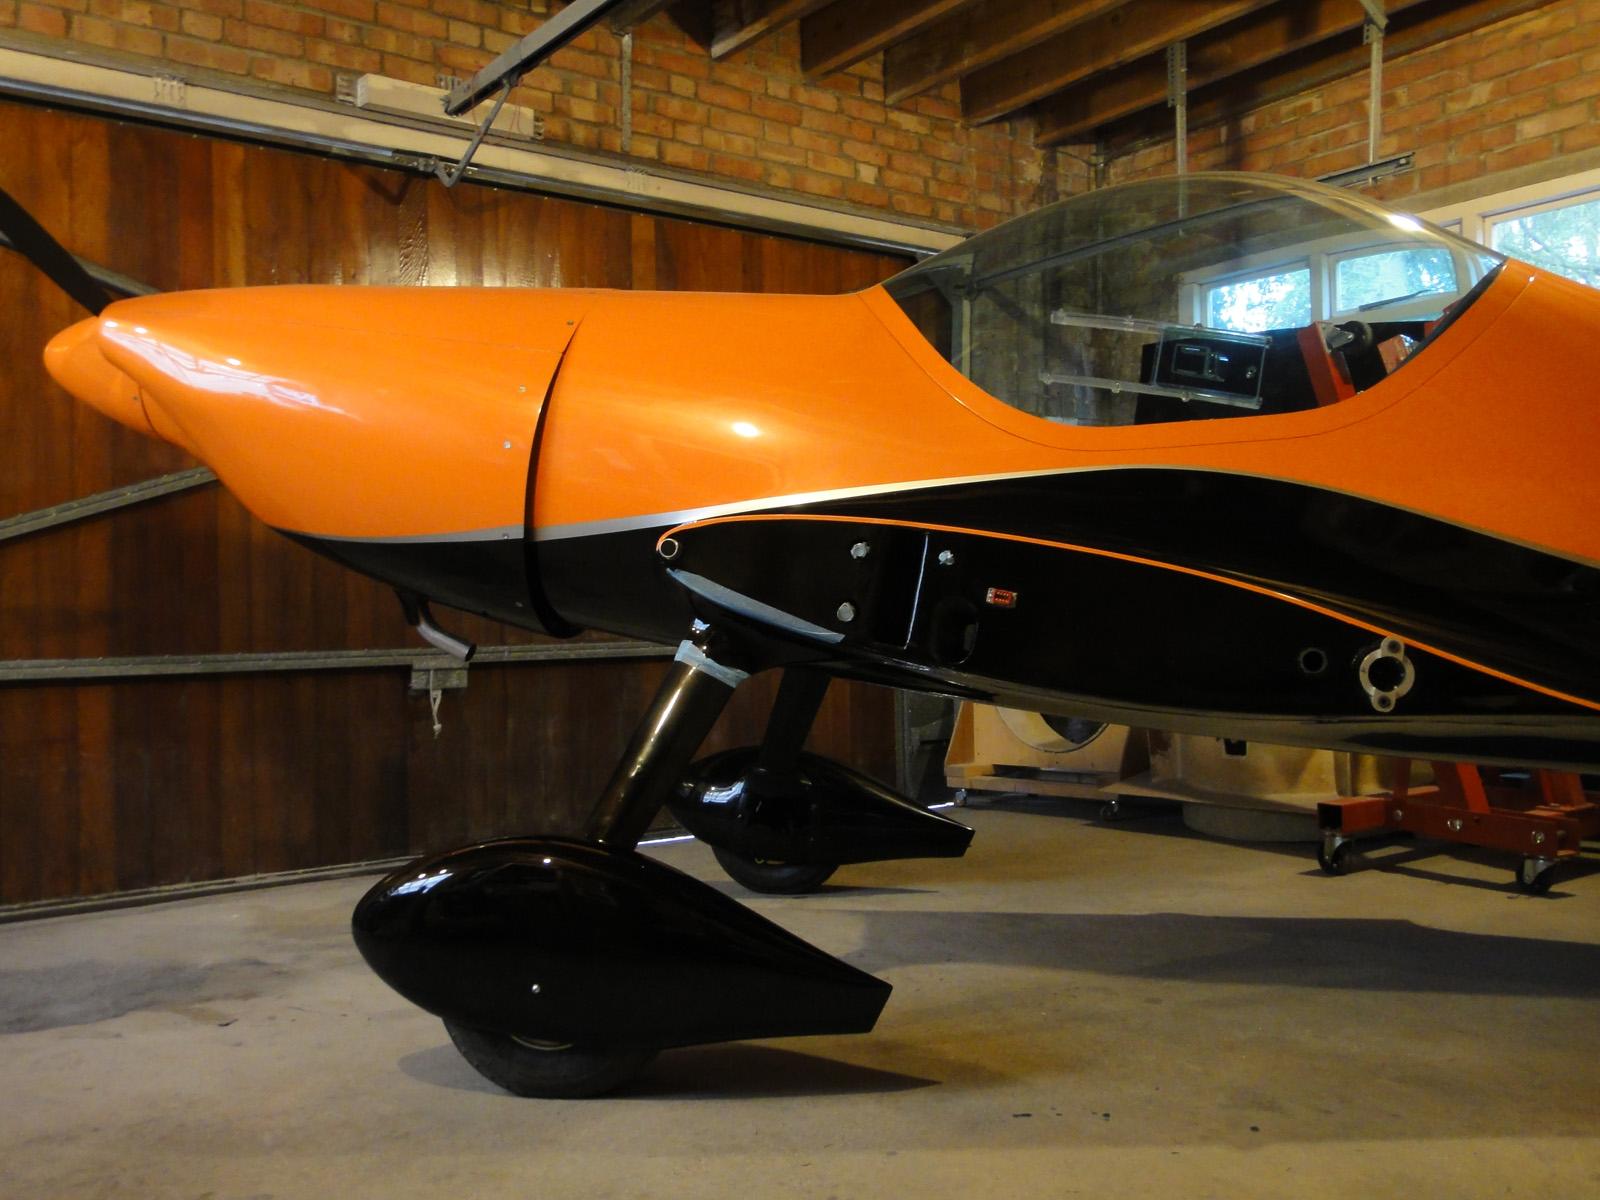
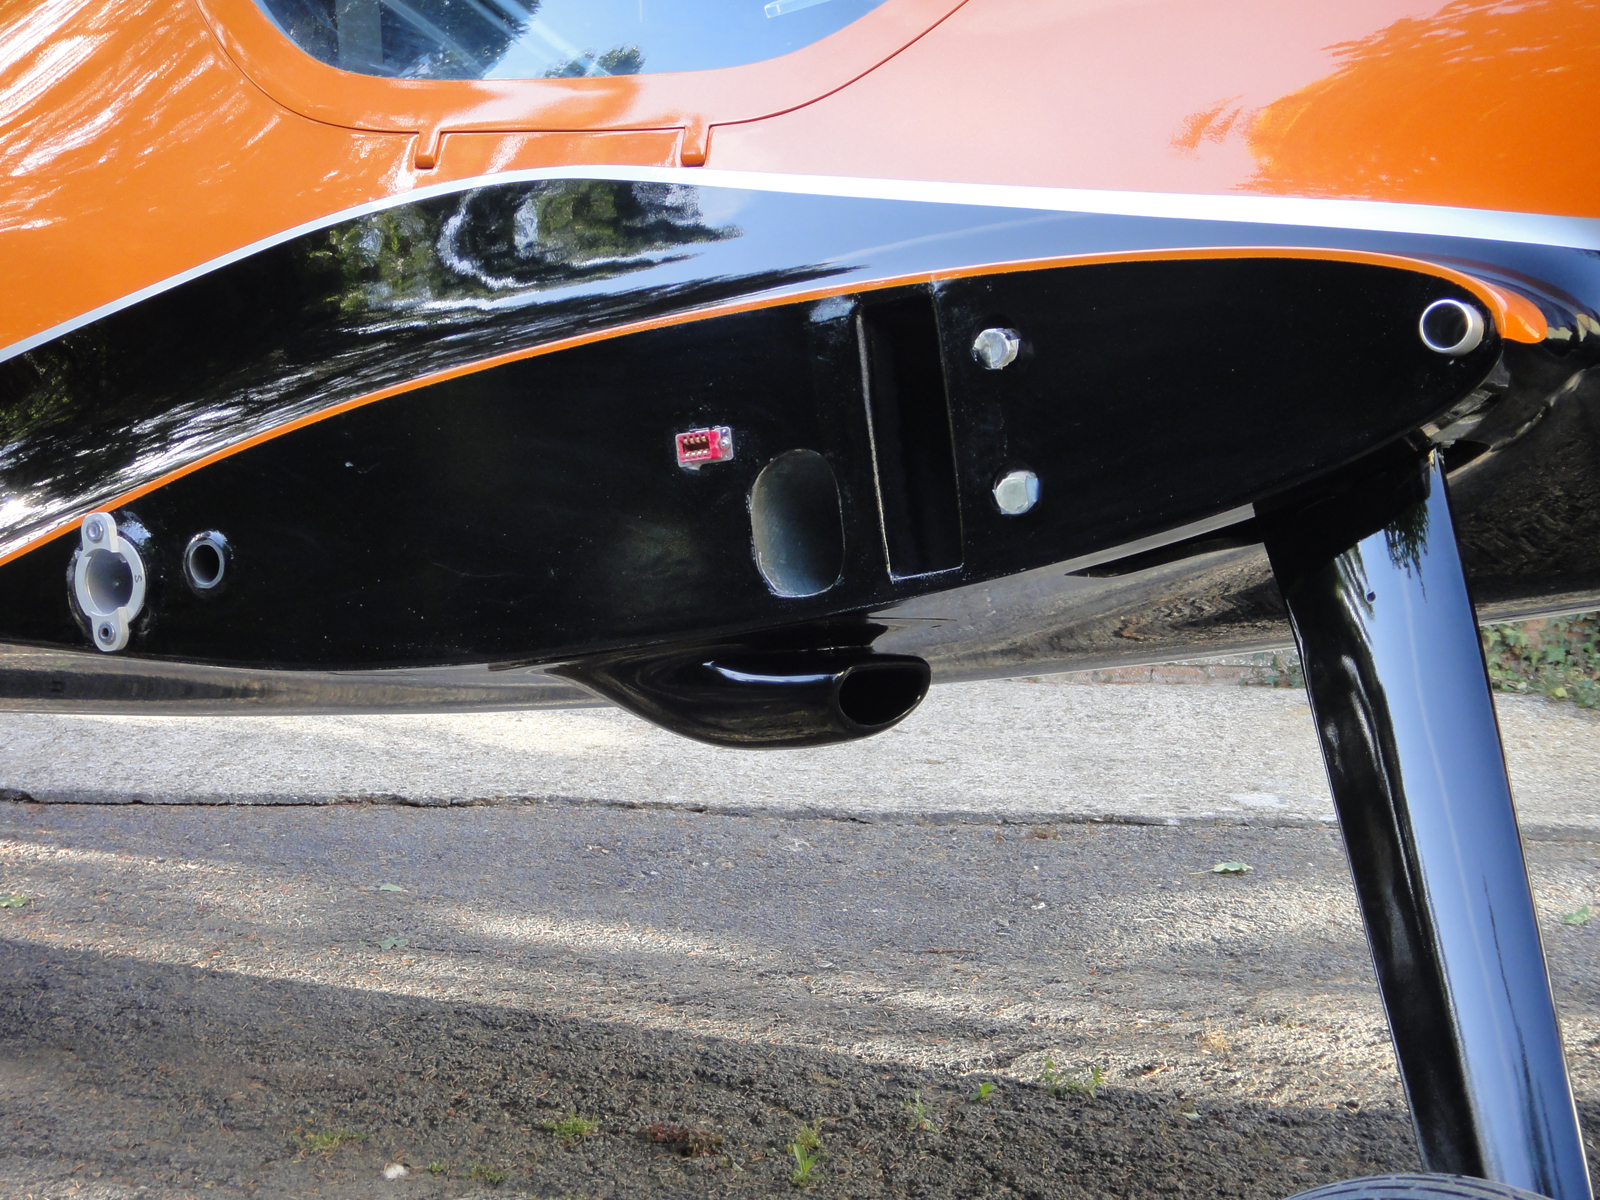
The Twister is safe and sound at Little Gransden.

A minor bit of paint off the lower part of one wheel spat is the only damage (this still upset me though).

Looks like weighing and inspecting will happen on the same day, Tuesday 6th. This should give me plenty of time to get it together and do some ground running beforehand.


Thursday 25 August 2016

Week 263 - Wheel Spats, Fuel flow test, Fuel tanks, Aileron counterweights

Hours to date: 2750.25

Firstly apologies for my last post which was a bit sketchy on the details. I was very tired that night and really should have waited until the following morning to write that post.

This week I've cracked on with fitting the wheel spats. No big dramas there - the plate on the inboard side of the wheel that aligns the holes (and nut plates in my case) has to be in exactly the right position. It had moved under transit to the paint shop and back so gave me a little bit of a headache while I tried to figure out why the spats did not fit like they used to! Also the front of the plates where bent out a little bit - again in transit to the paint shop - so I had to straighten them back again.

Next up was performing a fuel flow test. The LAA insist upon this even though we have a fuel injected engine. Good to do anyway for peace of mind that everything works as it should and the flow rates are the same, which they were in my case. See the maths below which shows that the fuel pumps deliver 136.36 litres per hour! More than enough for the max consumption of the UL 260iSA which is 27 litres per hour. The LAA want to see 125% of max flow, we have 500% - more than enough.

Those of you worried about me putting the pipe wrap on one of my exhausts can now sleep easy. I have removed it. After reading on Kitplanes about cowling heat management, Larry Vetterman (the Godfather of light aircraft exhausts) said pipe wraps are a bad idea because they increase the temperature of the metal to an unacceptable level and can even damage the stainless steel. I've removed the thin Fibrefrax and replaced it with thick Fibrefrax - 1/8 inch in the area closest to the exhaust. Fingers crossed it is okay and doesn't melt my newly painted cowl!

Next up was cleaning the inside of the fuel tanks. Ewwww what a stinky messy job this was. Petrol is nasty stuff! There was a heap of crap inside the tanks, some of it was from when I was fitting the fuel caps but there was also a lot of primer that got in there from the paint shop. I made up a cleaning device with an old toothbrush inserted into a piece of fuel hose and taped in place. This did the trick nicely and I was able to scrub away all the primer. A flush out with fresh fuel and things are better. I will not fly the aircraft until the pre-filters are replaced though as there will no doubt still be some crap in the system that will find it's way to these filters that are just before the fuel pumps.

I finally got around to doing the Chemseal (Proseal) job on the fuel sender/tank plates too. Ultra messy stuff this, kind of impossible to make a neat job with it. Lucky no one will see this as it's on the inside of the tanks.

Onto the ailerons...

I was struggling a bit to get the correct range of movement with one aileron and finally decided I should phone Pete. He said "Along with the retractable gear the ailerons are the worst job on the whole plane". This made me feel better. He said you could spend a week trying to get these right and still never get there. He's tried all sorts of fixes over the years but at the end of the day you have to accept the range of movement you get when both ailerons are connected as one will limit the other. I've managed to get mine within the ranges so that's good. I had to grind a fair bit off the bottom of one weight to get the clearance. 

The control 'stop' by the way is the counterweight hitting the wing skin inside! This is altogether wrong and a proper control stop should be fitted. I noted that the French Twister had a mod to include a control stop on the bottom of the stick in the cockpit and this is a good idea.

The manual is wrong with the maths on the balancing section too. See below screenshots. They have copied the text from the flap section and not updated the Fulcrum distance so the maths is wrong. They say an answer of 7 when it is actually 21.54 given their figures. The distance from the Fulcrum on the ailerons is 12cm and when that figure is used the 7 comes out correct. Confusing or what!

Either way there is no way the aileron will be within the weight they state also. 1.75 to 2.2 kg. Mine was over this before paint! 

The most important thing that has to happen is that the counterweight must be heavy enough so that the aileron is 'nose heavy'. The measurements I got in the end were as follows. 

Port aileron: Scale reading of 96 grams (0.096kg). So 0.096 x 9.81 x 12 = 11.3

Starboard aileron: Scale reading of 75 grams (0.075kg). So 0.075 x 9.81 x 12 = 8.8

So both are well within the limit of 25 to 5.

The weights suggested in the manual for the counterweights are really out of range massively as I ended up adding about 50% more lead weight to get the range correct. Lucky I had some left over from the flap counterweights - which are not needed anymore. I bonded these in using flock then the next day followed up with a layer of Carbon over them and part of the existing weight to make it secure.

Tomorrow G-FUUN will make it's way out to the airfield to play with the other planes. I have a feeling it's going to be a long day with picking up the trailer I am hiring and making at least 2 runs to the airfield, not to mention the loading and unloading. A beer will be in order on Friday night for sure!


Spats on. They are probably the only element aesthetically that I don't like on the Twister. Maybe one day I will build my own.


Spats don't look bad from the side - it's just the front view that I don't like.

All set up for the fuel flow test. 5 Litre measuring jug on the return line.

iPhone stopwatch is good for measuring accurately.

500% of max consumption - I'd say that's good enough!

Gizmo for cleaning out the fuel tanks.

Crap that was inside the tanks.

Pipe wrap removed and the closest area of the cowl replaced with thick Fibrefrax.

Chemseal on the inside of the fuel senders.

Messy stuff!

Measuring the counterweight on the scales.
Amount shown here is not enough! I had to add more and about 50% of original weight on one aileron.

Aileron maths - wrong!

Taken from the flap text I think - without changing the Fulcrum distance figure - as this maths does make sense. Although spot the mistake - it still says a scale reading of 0.06kg then has 0.14kg in the equation.

Thursday 18 August 2016

Week 262 - Gear leg fairings, Brakes, Tailplanes, Wings & Placards

Hours to date: 2709.75

A busy week and a half since I last posted.

Slowly making my way through all the jobs left to do before heading out to the airfield for final assembly and inspections.

Quite a few photos to post so I will tell most of the story with them and their captions.

Barring some kind of unforeseen drama the Twister should be making it's way to Little Gransden in about a weeks time. 


Finally fitting the tailwheel bearing guard I made. Using RTV on the bottom to seal up the gap and keep it in place.

Should stop all manner of crap from getting over the bearing.

In place. Imagine the dirt and water that would get on that bearing without this guard in place.

Gear leg fairing.
PTFE tape applied to the bits that will rub on the fuselage base.

Oil cooler will still see fresh air despite the gear leg fairing in the way a wee bit.


Cowl flap open. This thing better work!

Lifting up the wheels one at a time. These have to come off to fit the gear leg fairings up the leg.

Time to do the brakes.
Access to the reservoir is very limited so I made up this contraption to intravenously feed the life blood (fluid) to the reservoir.

Bleeding one wheel at a time.

There were some leaks from the parking brake mechanism after activating it for the first time - these fittings have to be done up REALLY tight. All good now.

Got the tailplanes and rudder fitted. No big dramas here. PTFE tape on the rudder where it rubs.

Time to work on the wings.

Inside the wing, the aileron pushrod assembly. Just a trial fitting here before Nylocs.

Pushrod was rubbing on the exit hole a tiny bit so had to get out the Dremel for a bit.

Both wings on and you can see the ailerons are both drooping with the stick centered. This is with all push rod end fittings screwed right the way in. I adjusted the ailerons using the tie rod end (the only one on the outside) to get both ailerons lining up with the flaps when the stick was centered.

Placards all in place.

Flaps working nicely.


Monday 8 August 2016

Week 261 - Cowling, fuse interior reinforce, Oil cooler scoop and canopy

Hours to date: 2653.75

It's 5 years ago today that I picked up the kit from the factory.

I'm full steam ahead now to get this thing in the air before the weather turns to poo in October. LAA paperwork will take at least a month to process I think and I am not ready to submit that yet. I've got another 2 weeks (maybe 3) to go till it's ready for final inspection.

The inside of the lower cowl now has Fibrefrax and Cool-it tape applied in the hot areas near the exhaust.

I'm not sure how it happened but I didn't leave enough space between the starboard front exhaust header and the cowl so I've done a pipe wrap on that section to reduce the heat coming off it. I may be paranoid here and it would be fine but I'm not willing to take the chance with melting my newly painted cowl.

Both the Fibrefrax and the Cool-it tape are good for 1000 degrees C so should provide a good protection to the cowl.

After that was done I put the cowl on to see how it looked. I have to say that I think it really suits the shape of the rest of the aircraft and has a nice visual 'flow' to it. (Although I may be a bit biased here...).

The spinner still needs some more work to clear the cowl properly. It was made too big for the backplate and there is some pinching going on when the fasteners are done up tight so I will build out the backplate on it's edge to kill two birds with one stone.

I had to remove a couple of scratches from the canopy - one on the top (my fault) and the other on the side (from the painting I suspect as it wasn't there before). I did this using the Micro Mesh kit which has several fine grades of sandpaper and a polishing compound. This works a treat to remove scratches although there is quite a lot of man hours in doing so.

The other thing I did to the canopy was reinforce the screw in eye hook that holds the support cable on as I felt it wasn't strong enough before. We don't want our brand new canopy falling off and breaking now do we.

The inside of the fuselage base also needed reinforcing. I should have done this before paint but I ran out of time. No big drama it's done now.

Cutting out the Fibrefrax

Pipe wrap on the starboard header as clearance is tighter than recommended 1 inch.

Sticking Fibrefrax down with high temp spray glue.

After applying Cool-it tape.


Reinforcing the canopy securing cable hook with flock.

Reinforcing the inside of the fuselage base joint.