Thursday 25 June 2015

Week 202 - Inlets and Plenum

Hours to date: 1872.75

The inlets are all done now. The job went fairly well except I shouldn't have bothered with painting and waxing the foam plugs as they didn't release. If I did this again I would just apply the light coat of micro slurry, sand and then put duct tape on it as a release.

I ended up having to Dremel out the foam - same as I did on the oil cooler ducts.

I used a bead of RTV all round to make the edges air tight and nut plates to attach the inlet to the baffles. It all fits good and makes the baffles a lot more rigid than before.

I bought some 1mm thick rubber sheet and cut out some strips which are the connectors to the inlet rings. Using big hose clamps to connect the two. The end result is an air tight connection which is also flexible - about 2mm movement in any direction. This is necessary as the inlet rings will be bonded into the cowling and the carbon inlets are connected to the engine so some movement and vibration will occur between the two. Also you need to be able to remove the cowling completely so the hose clamp makes this easy to do.

Onto the plenum.

After much masking and protecting with thick plastic sheet it was time to mix up the 2 part PUR foam. This stuff is super messy to work with and goes everywhere so it's worth protecting anything in the vicinity. I should have put some plastic sheet on the floor too as there was a bit of overspill. Anyway Acetone gets the foam off so that's good to know.

Once mixed you have 30 seconds to pour it in place until it starts to kick off and expand. It also has an exothermic reaction and puts out a bit of heat too.

I wasn't thinking too much here and didn't realise the foam would spill out as much as it did - I ended up having to use my hands (in gloves of course) on the back sides to stop the foam spilling out too much.

The foam expands to 25 times it's original size so you don't need much.

After a 1 hour break for lunch I came back and it was set rock hard.

Time to get out the rasp and do a rough shaping job. This was followed by a sanding bar (hunk of wood with 80 grit sandpaper glued to it) to finish the shape.

When I was totally happy with the shape I used some micro slurry to fill in all the pin holes in the foam and then create a layer on top which I will sand to final shape and this will give a smooth surface for a layup. I'm just going to put duct tape on this as a release. Then it will be ready for a carbon layup - probably going to go for 5 layers of carbon on this job as it's got to be rigid with all that air pressure going on under there.

More about all this next week.
Plugs all waxed - 9 coats - all ready for layup. I needn't have bothered with waxing as it turns out.

4 layers of carbon on main areas and 6 layers on areas where nut plates and hose clamps will go.

After trimming and removing the foam plugs. They are plenty strong enough.

Both on.

Loads of RTV to seal the edges and make it air tight.

Inside view from the back.

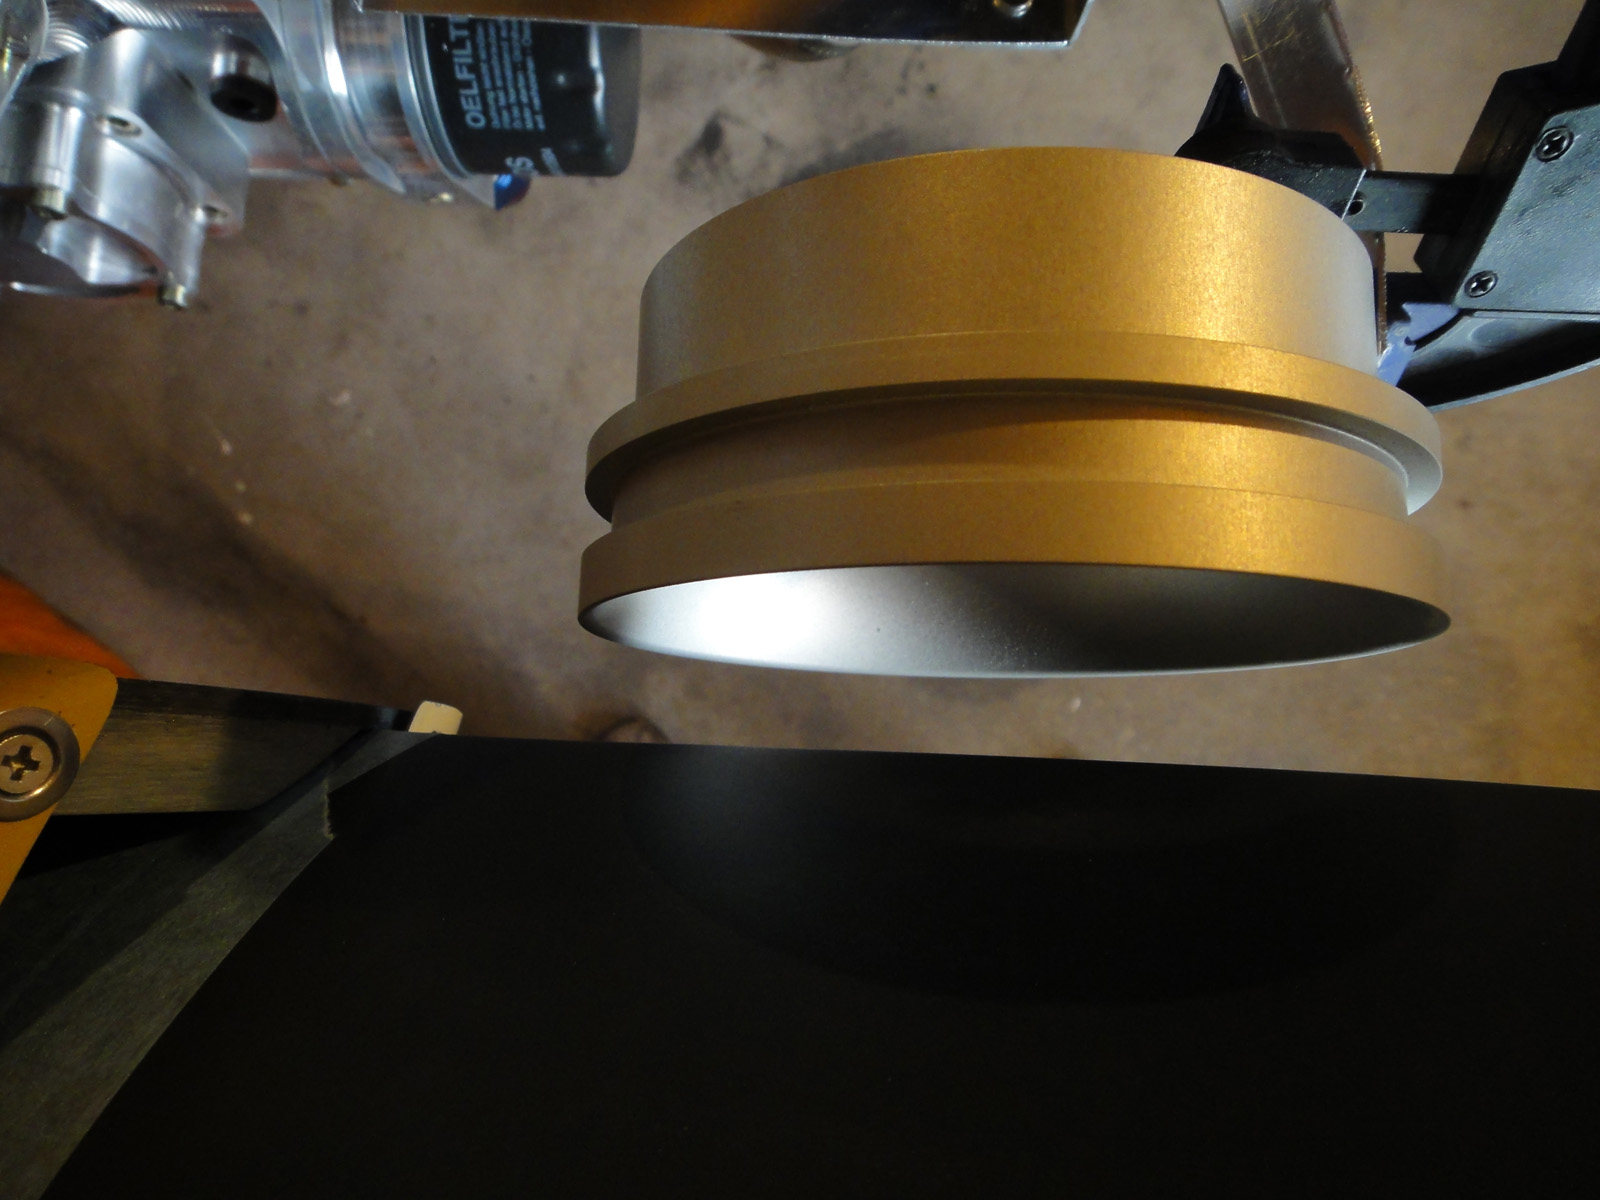
With inlet rings in place.


2 part expanding foam - messy stuff!

All masked up and ready to go.

Told ya it was messy!


After sanding one side.

As you can see I had one tiny leak of foam - easy enough to peel off a shiny surface - which it doesn't stick to - and clean the rest with Acetone.

Both sides sanded. Ready to micro now.

Loads of pin holes to fill. That's where the micro slurry comes in.

Micro added.

Just needs sanding now.


Tuesday 23 June 2015

Prop to inlet clearance

A little while ago I said 10mm was extreme - turns out I was very wrong.

Check out this highly modified Pitts Special from the USA.

Prop to inlet clearance must be about 5mm or less!

I'm still going to go for at least 10mm myself - this allows for some movement of the engine and cowling.

Proper blog post coming later in the week - just having issues with downloading photos at the moment.


Thursday 11 June 2015

Week 200 - CHT probes, Spinner and Fun with foam

Hours to date: 1842.75

Another couple of slowish weeks progress as I've been riding my Benelli on track days - got to let off some steam now and then.

I've made up some deflectors for the front cylinders - see pic below. These are to reduce the cooling on the front cylinders so that they match the same CHTs as the rear cylinders - which is better for the engine. I've started off slightly big and can reduce them as needs be. I used a pic of Pete's ones as a guide.

Onto the CHT probes which are really straightforward to fit - at least they should be! On one side the cut outs machined into the baffles were too small and so the probe would not quite fit in. A little careful work with the Dremel and they fit okay now. Save yourself a lot of hassle and machine these out by 2mm all the way round before fitting the baffles.

The spinner is coming along. Just got to sort out the nut plates on the back now. I also want to make up some fillets to fill in the gap at the back.

Next job was to make some male moulds for the inlet baffle connectors.

Before doing that though I had to determine the position of the inlet rings themselves. I've gone for 15mm space behind the prop - I know that some in the USA go for 10mm so I've erred on the side of caution here a bit by adding 5mm. They do want to be nice and close to the prop though to take advantage of the high pressure pulses of air that will come off the prop.

Many hours of cutting and sanding later and I had a pair of foam blocks shaped for the task.

They are 30mm too deep - this is to allow for overlap onto the Ali baffles which they will be attached to eventually with screws and nut plates.

A thin layer of micro slurry was added next. 

I slightly screwed up the starboard one on width so I added some micro to the side to build it up.

After a light sand with 180 grit paper it was a quick shot of primer which helps you see where the pin holes or gouges are.

Next up was body filler to fill those holes and more sanding then primer again and finally gloss black paint.

All that's left to do now is to wax these about 6-10 times to provide a good release. Hopefully I do a better job than last time with the oil cooler ducts as the gel coat really stuck to the moulds and it was a pain to get them out.

As you will see from the photos the moulds are not perfect but they are good enough for the inside of a duct - it should end up being pretty smooth.

Front cylinder deflector.

CHT Probe

Thermocouple wires all tied off with metal clips.

Getting there with the spinner

The fittings give a nearly flush finish.

Sorting out the inlet ring position.

Ditto

Aiming for a 15mm gap to the prop.

One plug carved out and one to do.

Offering it up to the baffle to check the shape.

Top view

Starboard one - note gap on right hand side - later built out with micro.

Top view of starboard baffle.

All done shaping, now for some micro slurry

Thin layer of micro slurry and dry micro added to starboard plug to build up.

After a coat of primer

And finally gloss black paint. Now just need to wax for a release.