Monday, 8 August 2016

Week 261 - Cowling, fuse interior reinforce, Oil cooler scoop and canopy

Hours to date: 2653.75

It's 5 years ago today that I picked up the kit from the factory.

I'm full steam ahead now to get this thing in the air before the weather turns to poo in October. LAA paperwork will take at least a month to process I think and I am not ready to submit that yet. I've got another 2 weeks (maybe 3) to go till it's ready for final inspection.

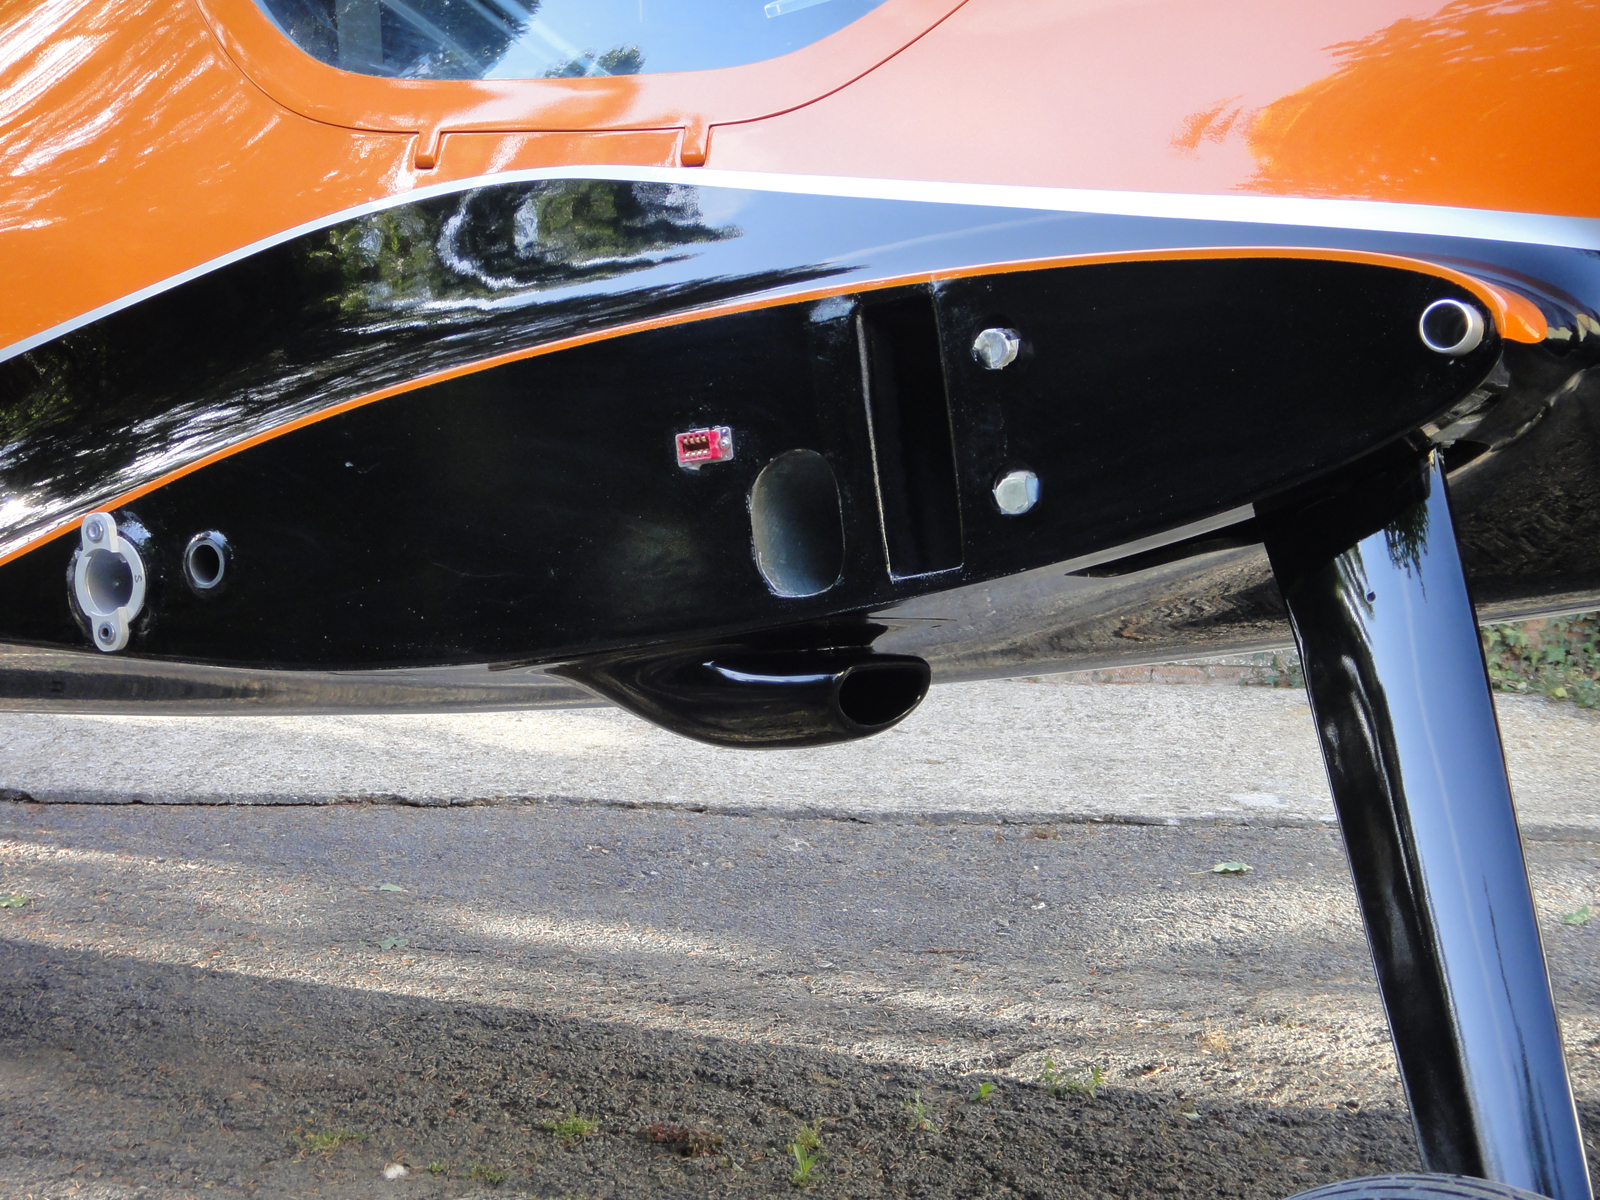
The inside of the lower cowl now has Fibrefrax and Cool-it tape applied in the hot areas near the exhaust.

I'm not sure how it happened but I didn't leave enough space between the starboard front exhaust header and the cowl so I've done a pipe wrap on that section to reduce the heat coming off it. I may be paranoid here and it would be fine but I'm not willing to take the chance with melting my newly painted cowl.

Both the Fibrefrax and the Cool-it tape are good for 1000 degrees C so should provide a good protection to the cowl.

After that was done I put the cowl on to see how it looked. I have to say that I think it really suits the shape of the rest of the aircraft and has a nice visual 'flow' to it. (Although I may be a bit biased here...).

The spinner still needs some more work to clear the cowl properly. It was made too big for the backplate and there is some pinching going on when the fasteners are done up tight so I will build out the backplate on it's edge to kill two birds with one stone.

I had to remove a couple of scratches from the canopy - one on the top (my fault) and the other on the side (from the painting I suspect as it wasn't there before). I did this using the Micro Mesh kit which has several fine grades of sandpaper and a polishing compound. This works a treat to remove scratches although there is quite a lot of man hours in doing so.

The other thing I did to the canopy was reinforce the screw in eye hook that holds the support cable on as I felt it wasn't strong enough before. We don't want our brand new canopy falling off and breaking now do we.

The inside of the fuselage base also needed reinforcing. I should have done this before paint but I ran out of time. No big drama it's done now.

Cutting out the Fibrefrax

Pipe wrap on the starboard header as clearance is tighter than recommended 1 inch.

Sticking Fibrefrax down with high temp spray glue.

After applying Cool-it tape.


Reinforcing the canopy securing cable hook with flock.

Reinforcing the inside of the fuselage base joint.


Thursday, 4 August 2016

Finally back from the paint shop

Today G-FUUN sat in the sun in all it's Orange glory.

I haven't unwrapped everything yet but what I've seen so far looks stunning.

The orange looks it's best when the sun is shining and the pearl is doing it's thing.

It should look good for £6k though :) (Murray tried to charge me £8k but I was having none of it. The estimate given was for £5.5k and the design and silver ended up being less complicated and less expensive than when that estimate was done, so there was no justification for trying to charge more).

Also today the cockpit cover arrived from Sky4Covers. It fits pretty good and is made of quality fabric. Sarah from Sky4Covers is good to deal with and turned this around fairly quickly and for a good price. £435.


Everything was well protected with bubble wrap.

Cowling is looking pretty mint.


When the sun is out it takes on a lighter, brighter look - which was exactly what I was hoping for.

Canopy is not on properly in this pic.


Cover from Sky4Covers. Good people to deal with, recommended!

Wednesday, 3 August 2016

New toy

I've bought a share in this brand new Pipistrel Virus SW.

I've already done about 7.5 hours in it in 10 days.

It's a great little machine for touring (with my girlfriend, which is why I've bought into it.)

More specs and details here: http://www.pipistrel.si/plane/virus-sw/overview

I hope the Twister does not get too jealous.


Week 260 - Long range tank

Hours to date: 2626.0

The long range tank is almost there.

The top is getting the filler neck fitted and also the vent line. I've made a rubber seal between the filler neck and tank top. It will be screwed down by 8x M4 bolts and nuts. The vent line will be a tapped thread and fitted with resin to seal it.

After I sealed the interior with neat resin it was time to try a capacity test (and at the same time a second leak test).

It holds 58 litres - which is more than I need. 50 litres will be plenty for the legs I'll be doing across the Atlantic. The only question now is how will it affect the balance? I may have to add a water tank to the front of the aircraft somewhere so I can balance out the weight.

Good news is that there were no leaks! Some more testing will be done with fuel next and also after the fitting at the bottom is done.

Further work on the tank will be put on hold now as the plane is back from the paint shop so it's full steam ahead on that for now. 


58 litres capacity - more than enough.

No leaks either! Water on the ground is spilt from the filling container.

Neat resin on the inside has sealed it well.

Part way through fitting the filler neck and vent line connector.

Wednesday, 20 July 2016

Twisters over Farnborough

In what must be the highest honour - the Twister Duo were asked to display at Farnborough this year.

I went on the Friday with my video camera at the ready only to be disappointed as they were not flying that day - being pushed to Saturday due to another (parachute) team missing their display earlier in the week and taking their slot on Friday.

As it turned out the show was cut short at 4pm anyway due to crappy weather coming in.


I had a great day out anyway and mostly went for the trade show where I learnt about a lot of new developments and met some really interesting people.

Well done to Pete and Chris for a stunning display on Saturday!


Week 258 - Long Range tank, Paint update

Hours to date: 2621.0

Well this paint job is taking a while isn't it?!

The initial estimate was for 5-6 weeks, so far we are up to week 11...

I do think it will be finished soon though. Maybe late this week or early next week.

In the meantime I have been working on the long range fuel tank.

I got the sides and back done and decided to do a capacity test, first 5 litres in then I went back inside to get another 5 litres and when I came outside there was water leaking like a sieve from the bottom! Complete FAIL!!!

On closer inspection I realised that the bottom and front were laid up badly without enough resin to properly fill in the very open weave of the 450g heavy weight fabric. So I sanded down the surfaces of both of those and put quite a lot of resin on and finished with a complete covering of peel ply. This did the trick and sealed up all the holes nicely. It does not leak now (it wasn't leaking from the sides or back as I did a better job with those on the first go). 

Just to be sure I am now sealing the whole interior with another layer of 'neat' resin (no peel ply this time) which should provide a fuel tight interior. I will be testing it extensively before it ever goes in the plane anyway.

On the second test I got the capacity up to 55 litres so it is more than enough for the trip to Oshkosh. We'll have to see how it affects the weight and balance. I plan to test a small amount first and then progressively up the capacity in small increments and test each of those to determine what is the safe limit for it. I may need to think about having some weight put forward to compensate and I've already started to have thoughts about that. Will keep you posted as and when I get to flight testing stage with this.

Work will continue on the top of the tank now, fitting the filler nozzle and vent line. I won't be bonding it on until I am absolutely sure everything is fine with the interior of the tank first. 

If I could start again on this tank I would not use the heavy weight carbon 450g fabric. I would go for a 200-220g hybrid Carbon/Kevlar fabric. This would be much easier to wet out and not have the same porous issues of the heavy weight fabric (with the Kevlar it would also have better impact resisting properties. Also I found the 450g fabric a pain to cut out and the rotary cutter did not work on it. Avoid!

On the modification front, I heard back from the LAA and they requested I now fill in a more detailed form for each mod. I've done one of these and started the other one which I hope to finish this week. The tailplane mod was well received so I think that should go through OK. I don't foresee them having any major problems with the cowl and scoop mod either.

I think realistically we are looking at late August, early September now for a first flight.


Getting ready to lay up the first side. I used Duct tape on the plywood as a release.

First side done. Needs trimming out here.

Inside view - with peel ply and a good amount of resin you get a fuel tight finish.

Second side going in. Note the poor quality of the bottom and front panels.

It's ugly but it gets you there. One more flange to go on the top.

Figuring out where the filler hose connection will go.

Layup for the top panel, needs trimming out here. 4 layers of heavy weight fabric with 6 layers in the area where the filler hose connection will go (top left).

'Neat' resin going in to seal against fuel. I'm doing this one side at a time to ensure good coverage with no resin runs.

Cowling is looking damn sexy in it's new colours.

Silver dividing line is done. This blue mask shows where the black will go (below the top edge of the blue line - yes it will need remasking this was just for me to approve).

Nice sweeping line down the fuse.

Wings and tailplanes in orange.

Monday, 4 July 2016

Week 256 - Trim tabs, Long Range Tank and Paint update

I've made up some fixed trim tabs out of ali sheet.

They will go on the rudder and starboard aileron, fixed with double sided tape (same as Pete does).

The holes are drilled so they will be easier to bend.

With the long range tank I decided to cut off the sides and just make the width the right size to slide in through the seat area. So I've got to remake the sides and then make the back and top.

I've used some plywood to make up the shapes needed and will lay up directly onto these, overlapping onto the base and back as I go.

I visited Murray again today to see how things were getting on with the paint. 

We sorted out the masking of the 'curve' which is the critical bit that will determine what shape the black takes on the fuselage sides.

We also figured out the locations for the registration letters - which will be sprayed on rather than vinyl - so they have to be right.

The orange on the spinner looks stunning (see the video below). When it is out in the direct sunlight it looks great and then indoors it takes on a different look as well. 

The rest of the fuselage has been 'flatted back' in preparation for the final clear coat which will go over the entire paint job (black, silver and orange) giving one smooth uniform surface with no ridges.

I think Murray will finish it this week so I guess it should be back in my garage by next week.


Fixed trim tabs

Making up plywood molds for the sides of the long range tank.

The filling tube will be mounted about here and is long enough so the opening can go outside of the cockpit when refueling.

After filling it can be zip tied to a bracket back inside in about this position.

Spinner - photo taken inside

Spinner - photo taken outside

Blue masking line shows where the silver and black will go below.

Happy now with the way this mask line is looking and the position of the rego.

Wing rego will be in silver.